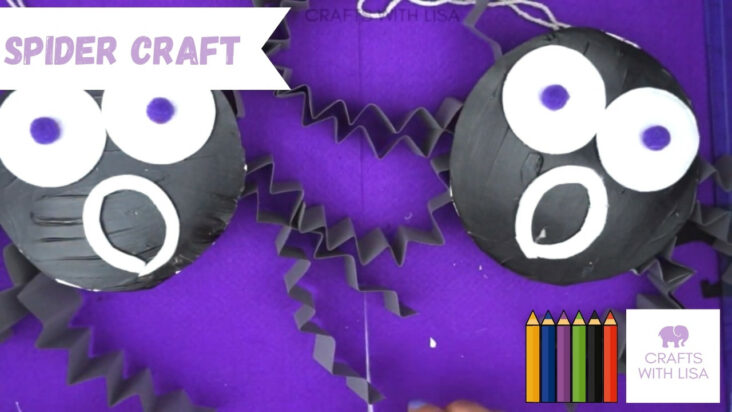
This is a simple spider craft that you can make at home or in the classroom this Halloween. It’s a lovely decoration or project that you may put on your shelf! Painting and making your own spider faces is loads of fun with this activity! Whatever colors you have in your art box may be used to create your spider.
What you will need
- Paper plate
- Paintbrush
- Black paint
- Three cotton makeup pads
- Two pom poms
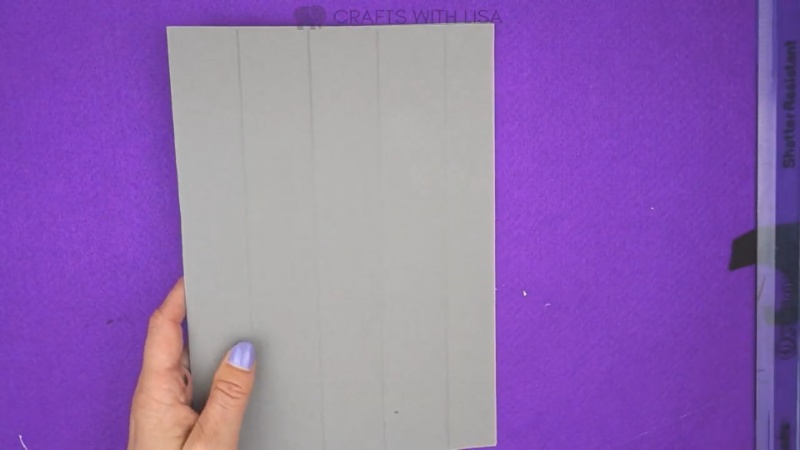
- Gray paper
- Glue
- Scissors
Steps
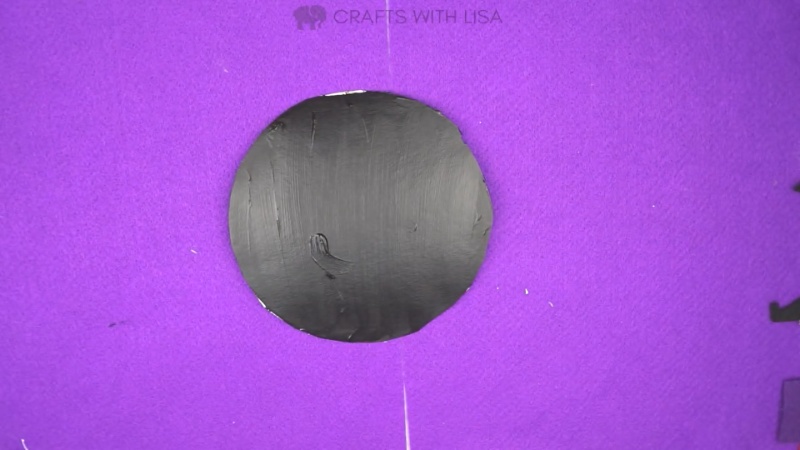
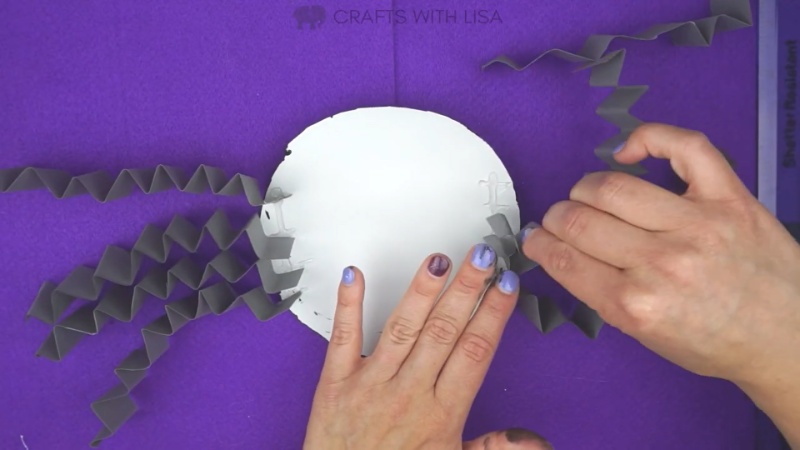
- Take a paper plate and cut out the center. Cover the paper plate with black paint and set it aside to dry.
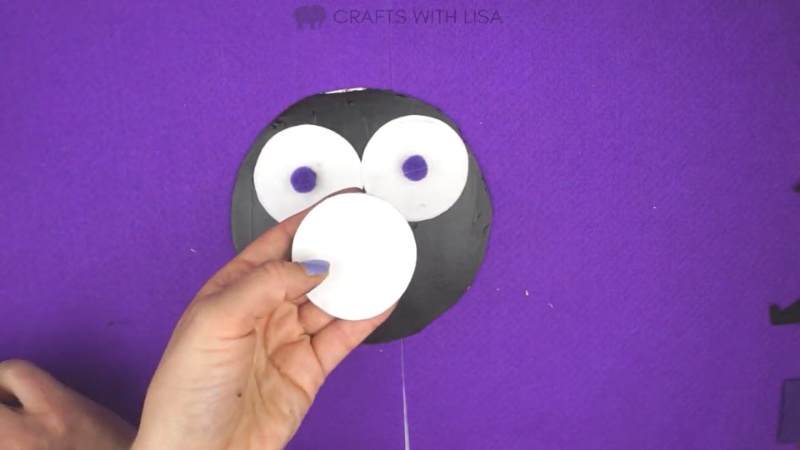
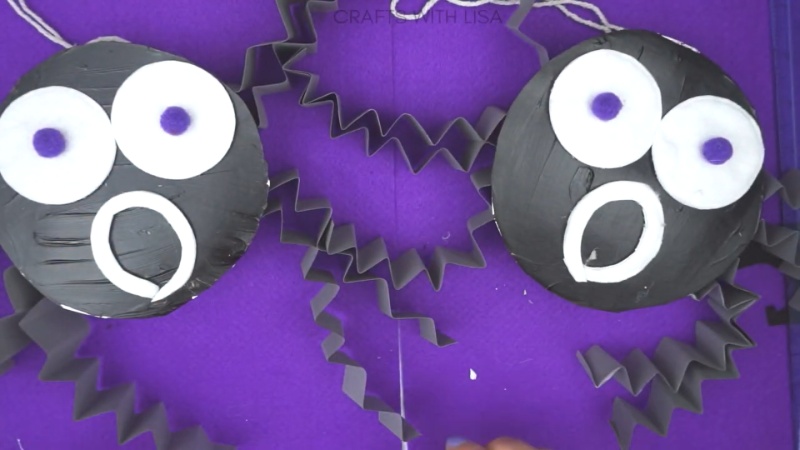
- Place two pom poms in the center of two makeup pads to create the spider’s eyes. Then stick your eyes to the black paint.
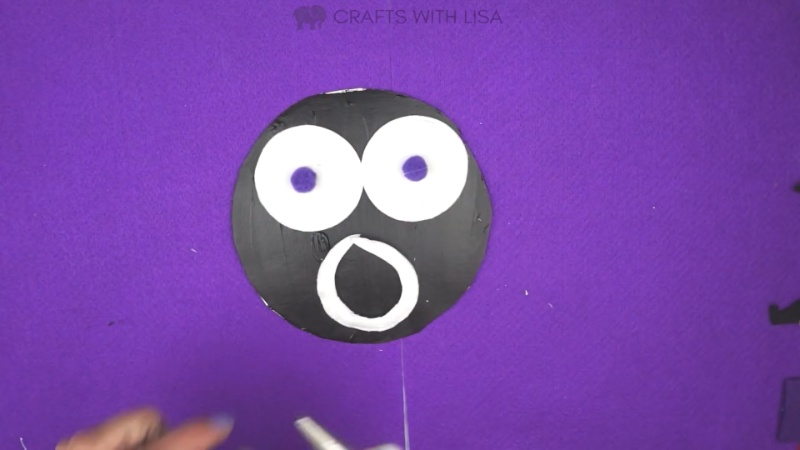
- Next, cut out an oval shape around the sides of the makeup pad to represent the spider’s mouth. Stick to the black painted card.
- Fold your gray paper or card in half and draw eight lines.
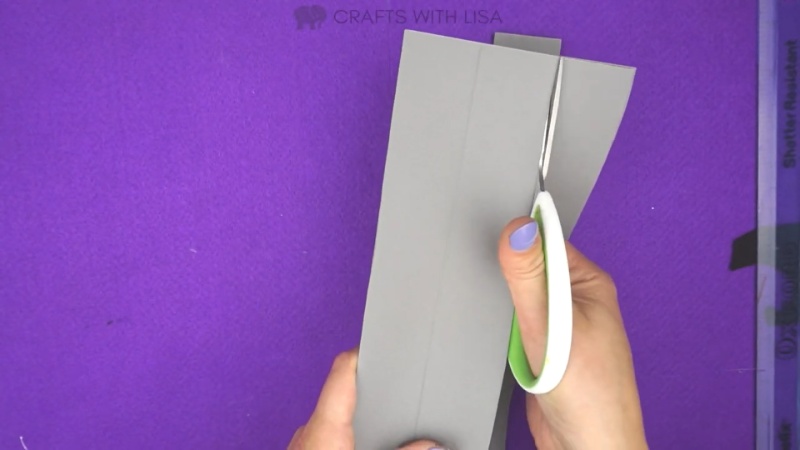
- Cut out eight long strips of card.
- Create a popup effect by sticking your legs to the back of the black painted card and standing the gray card up.
- Add some string to the back if you wish to hang your spider.

- Your spider craft is complete!
Summary
This is a fun craft to make with lots of little steps and materials used.
Kids will enjoy painting and designing their own spider faces!
I used Halloween colors for my spider, but you can use whatever colors you have in your art box.
I hope you have fun making your spider.
Lisa