
Today, I’ll show you how to make a simple transport-themed helicopter craft for kids. Arts and crafts can be a lot of fun, but it’s nice to try something new every now and then. Today I’ll demonstrate how to create a simple transport-themed helicopter craft for kids that is both entertaining and educational!
This project is a fantastic method to get your kids or classroom started on creating their own helicopter, and it explains all there is to know about each component of the vehicle in each step-by-step direction. You may make this craft with just a few objects.
What you will need
- Green Card
- Popsicle Sticks
- Glue
- Marker
Steps
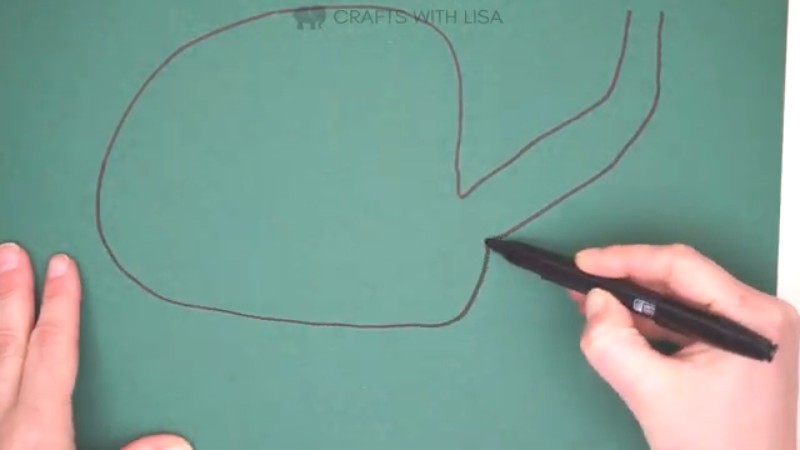
- Get your green card and draw a helicopter. See the video for more details.
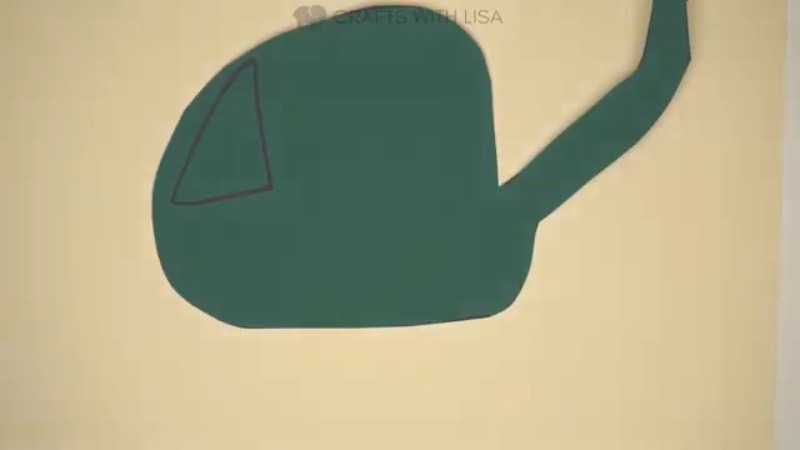
- Cut out your helicopter.
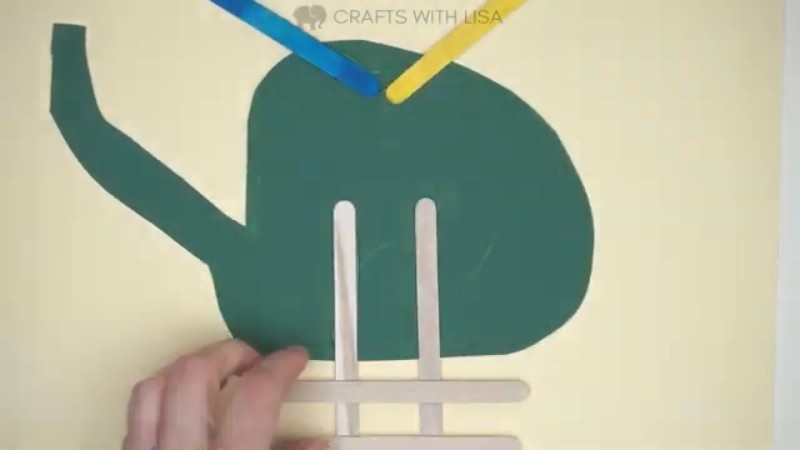
- Turn your helicopter upside down and stick two sticks vertically and two horizontally to make the landing skids of the helicopter.

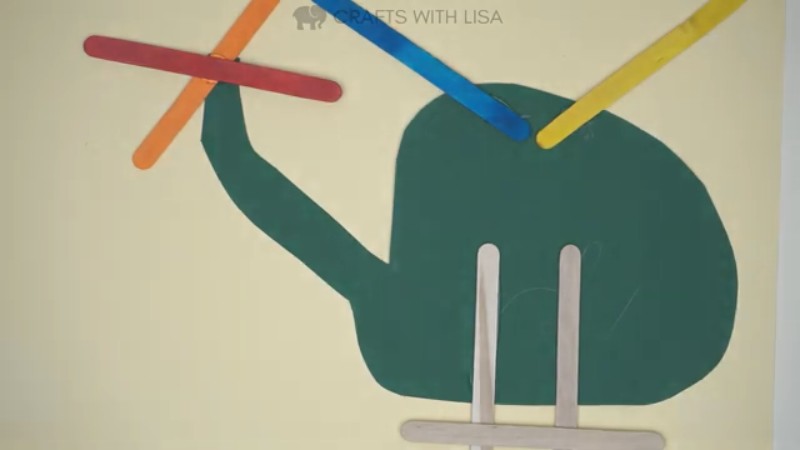
- Then two more lollipops can be glued to the top of the helicopter to make the rotor blade.
- Then add two more lollipop sticks to the back of your helicopter to form your tall rotor.
Summary
Arts and crafts for kids can be a lot of fun, and today I will show you how to make a simple helicopter craft that is both transport-themed and fun.
The project is an excellent way for kids to learn about each part of the helicopter, and all you need are a few supplies.
First, draw a helicopter on your green card. Then, turn the helicopter upside down and attach two sticks vertically and two horizontally to make the landing skids. To make the rotor blade, glue two more lollipops to the top of your helicopter.
Make it your own! Have fun experimenting!
Did you know that a helicopter is the only aircraft that can fly forwards, backward, and sideways?
Thanks!
Lisa